


EVERYTHING YOU NEED TO KNOW ABOUT AIRING DOWN FOR CASUAL OVERLANDERS
I get a lot questions about how, when, and why to air down your tires when you are driving on dirt roads. And by a lot of questions, I mean absolutely none at all. But this is my channel, so I’m going to make a video about it anyway.
Now, you may be aware that I shoot and edit videos with Harry Wagner for the Driving Line channel on YouTube, and we’re just wrapping up a whole series on air pressure issues for 4-wheeling and overlanding. If you want to check those videos out, I made a playlist that you can find in the comments.
And if you don’t want to listen to me or Harry, then I’ve got good news for you! There are literally hundreds, maybe even thousands of other videos here that you can watch by middle-aged tattooed beard bros standing in front of tacticool 4x4s telling you how to let the air out of your tires. So what’s different about me?
Simple, I don’t have any tattoos.
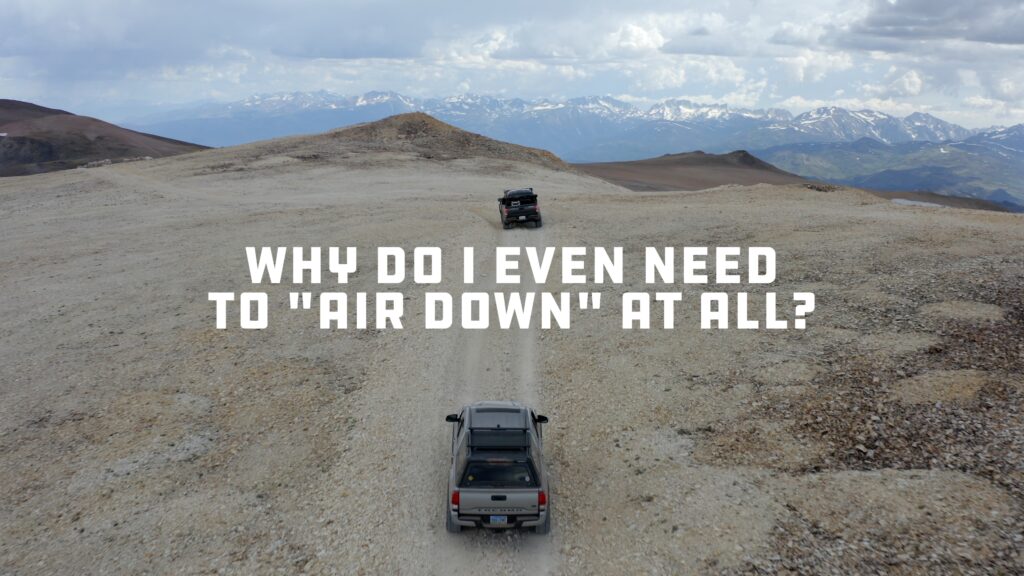 Why do I need to air down?
Simple, you don’t. If you drive down a dirt road and don’t air down, literally nothing will happen. Nobody is going to pop out of a rooftop tent and give you a ticket for not airing down. Your car won’t stop working. That guy in the Bronco will drive by like you don’t exist either way. I shot these clips of driving Toll Road for my last video without airing down OR turning on 4-wheel drive. And as you can see, I made it almost to the top before the truck exploded.
There are some reasons you might want to air down, however. The main reason is that softer tires make for a softer ride. On paved roads, you are traveling at high speeds with lots of traction, so you want a high-pressure tire for stability and efficiency. But on a dirt road, you’re traveling at lower speeds on a surface with less traction and more bumps.
All the bumps on rocky dirt roads transmit a lot of force into your vehicle. While your vehicle is totally designed to handle all that force, it’s uncomfortable for the passengers and means that you have to drive at lower speeds to maintain control. At lower air pressure, your tires will deform over the bumps and transmit less shock to your vehicle, making it more comfortable for the passengers and easier to maintain control at slightly higher speeds.
When you lower the pressure in your tires, you bring more of the tire into contact with the road surface. That means more traction. And when the road gets steep or challenging, you’ll have an easier time getting through.
This is important. It’s hard to overstate the value of lowering your air pressure when dealing with low-traction driving situations, particularly when driving in sand, snow, and rocks. It can make the difference between making it and getting stuck.
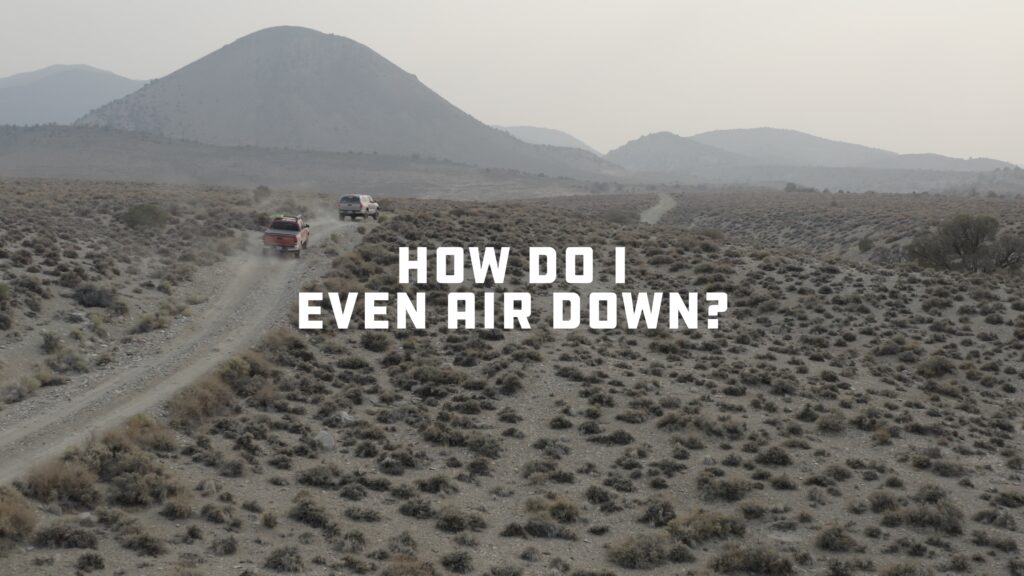 HOW DO I AIR DOWN?
Now, we did a whole video on this topic to figure out what we already knew. That simpler is better. If you want to see a full comparison of all the major deflation methods on the market, check out the HarrySituations video on Driving Line.
But here’s what I use and what I recommend for most people driving dirt roads in a regular truck or SUV. The Terraflex deflator.
They are compact, which is nice, and they all nest together in one piece, so it’s hard to lose one of them. They come on this keychain that you can leave in your car all the time. You also need a pressure gage. I prefer these dial gages as they’re more accurate (at least I think they are) and easier to read.
You screw them onto all your tires one by one. Make sure to wait 30 seconds or so between each. then go around checking the pressure. When the first tire hits your target pressure, take the deflators off one by one.
It’s usually not critical that they are precisely the same all the way around. Just get them pretty close. When they’re all done, hit the trail.
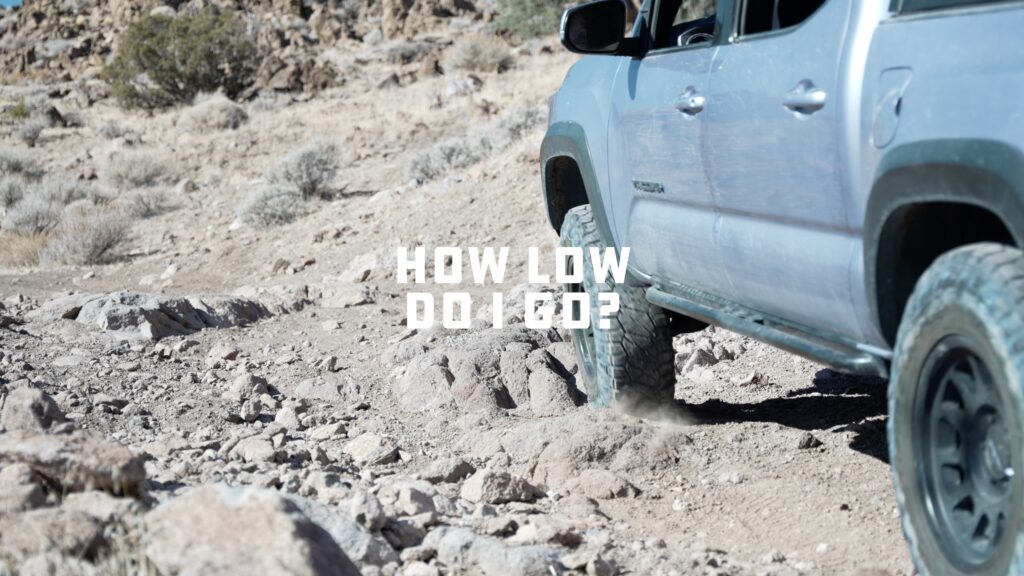 HOW LOW DO I GO?
This is a good question. While the answer is nuanced, It’s also pretty simple. Start with 1/2 of your recommended street air pressure. This is usually printed on a sticker inside your driver’s door sill.
For this Tacoma, the pressure recommended is 30 PSI with the stock tire. So, in this case, you can safely air down to 15 PSI for off-roading. Now, when I had stock tires on this Tacoma, that seemed a little low to me, so I went down to 20 PSI. 20 PSI in a stock Tacoma was a pretty good place to be and really improved the ride and traction on long dirt road drives.
So find the pressure that you’re comfortable with and go with it. You can adapt as conditions and your experience change.
IF LOW IS GOOD, LOWER IS BETTER. RIGHT?
Now, you might be tempted to think that if 20 is good, then 10 is better. And you might be right, but you might be wrong.
As a general rule, I’ll run extremely low pressure only in snow and sand. Last season, we went snow wheeling, and I dropped down to 8 PSI in our Nitto Pizza Cutters. The improvement in traction and flotation, going from 15 down to 8, was huge. If you find yourself stuck in snow or sand, try lowering your pressure down to about 10 PSI to get out.
But be careful because there are consequences to going too low. The main one is that you risk the tire coming off the bead of the wheel, which means your tire is no longer connected to the wheel, and there’s no good way to fix this, even if you have a compressor.
Yes, I know that’s not strictly true, but since this is a video about the basics of airing down, let’s just say you don’t want to de-bead your tires.
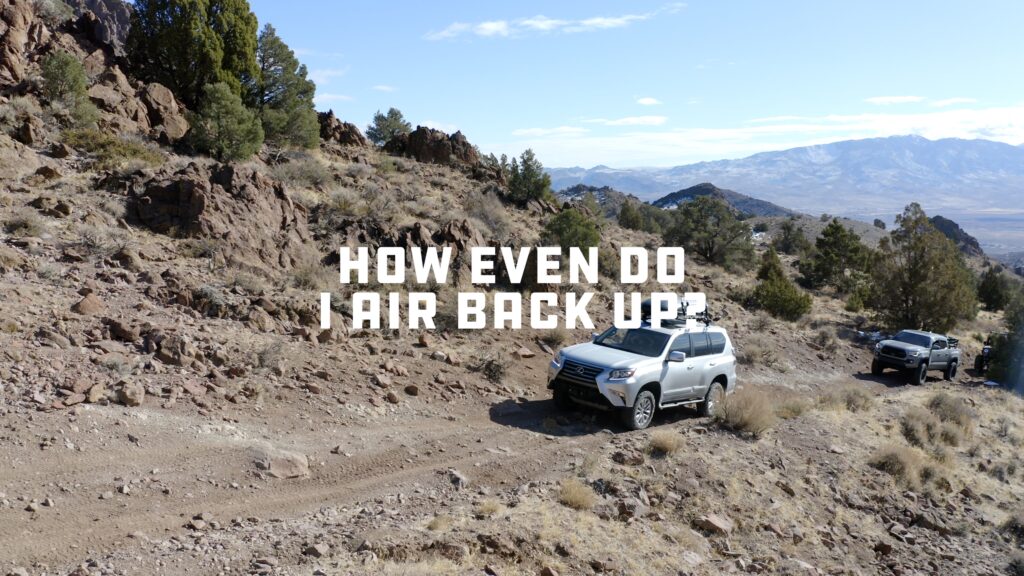 HOW DO I AIR BACK UP?
This is a pretty critical question because if you’ve lowered your street pressure by 1/2 then you really can’t drive around on paved roads at highway speeds with your tires that low. It isn’t safe. You have much less control, and your tires are likely to overheat and can be damaged.
The easiest way to air up is to stop at a gas station and use their pump.
It’s not uncommon to find a station fairly close to the end of a trail. For example, Toll Road, Sunrise Pass Road, Peavin Peak Road, and Dog Valley Road are easy roads that you could air down for and all have gas stations with pumps near the end.
That’s not a really reliable strategy, though. Gas station air compressors have as good a track record as the ice cream machines at Mcdonald’s.
That’s why a lot of us carry a 12v compressor. This is a Smittlbilt compressor I used for a few years, and it’s cheap and easy to use. You clip it onto your battery cables and air up each tire one by one. There are dozens of compressors like this, and you can buy one or borrow one and use the same one for every vehicle in your group.
I do this often enough that I decided to install a compressor permanently in my Tacoma. I use the ARB Single Air Compressor and I mounted it into the side bed pocket here. I recommend this because, while expensive, it’s compact, reliable, and comes with all of the wiring, fuse, and switches you need to install it in your vehicle. Everything you need.
It’s fast enough for me to air up my tires pretty quickly. The dual air compressor is literally twice as fast, but it wouldn’t fit in this compartment.
You’ll also need a length of air hose and an inflator. I got this one at Napa Auto Parts, and it comes with a very accurate gauge.
CONCLUSION
Ok, so now you know why you might want to air down, how you can air down, how low you might want to go, and how to air back up. Or at least my opinions on the matter. Let me know what pressure you air down to, what you use to do it, and how you air back up.
Happy Trails


Add comment